From troubleshooting tips to parts replacement, everything you need to know about your Hegner Scroll Saw is here.
Hegner Parts & Troubleshooting
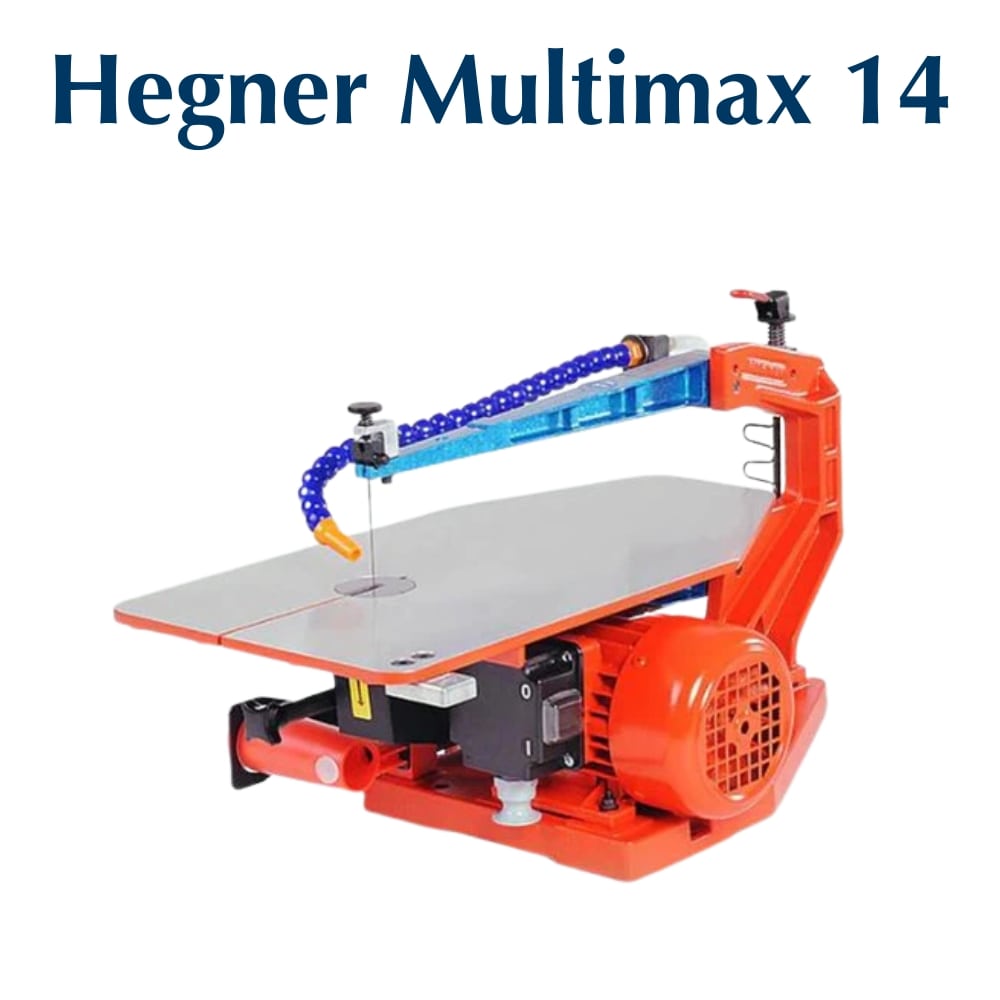
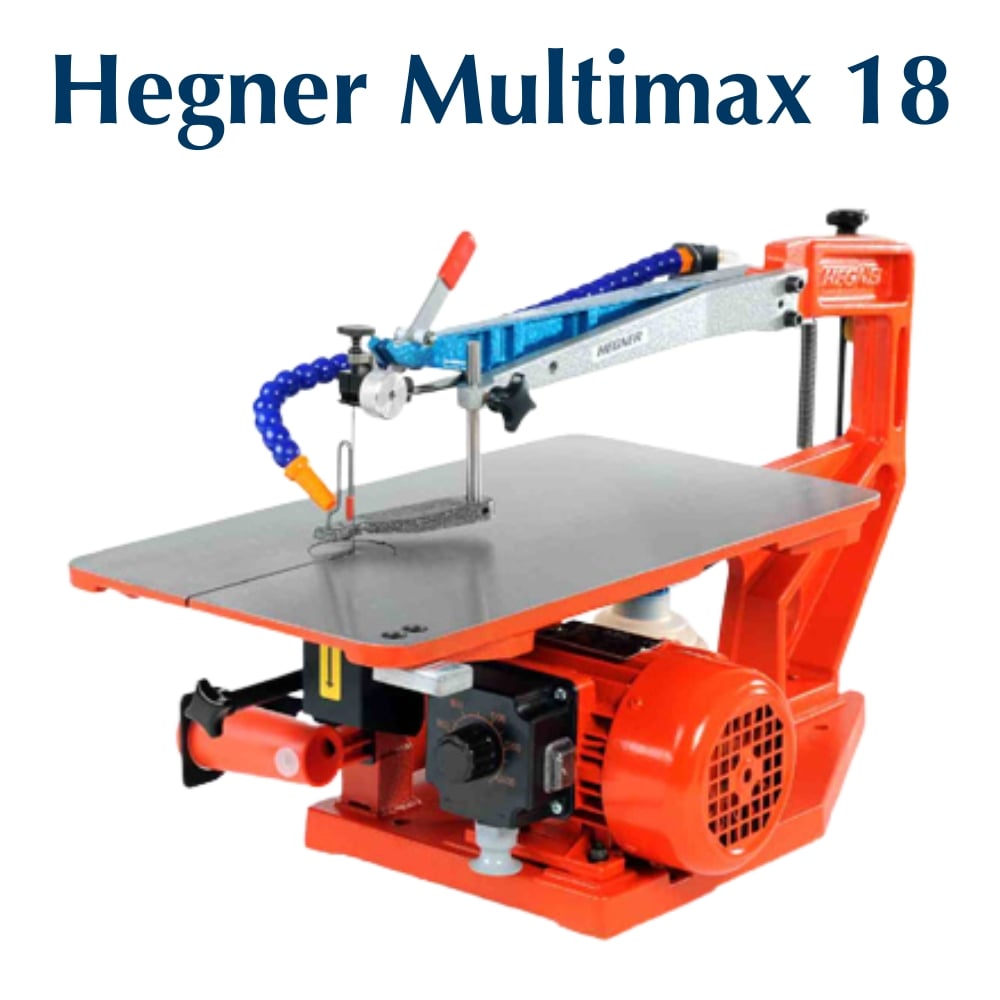
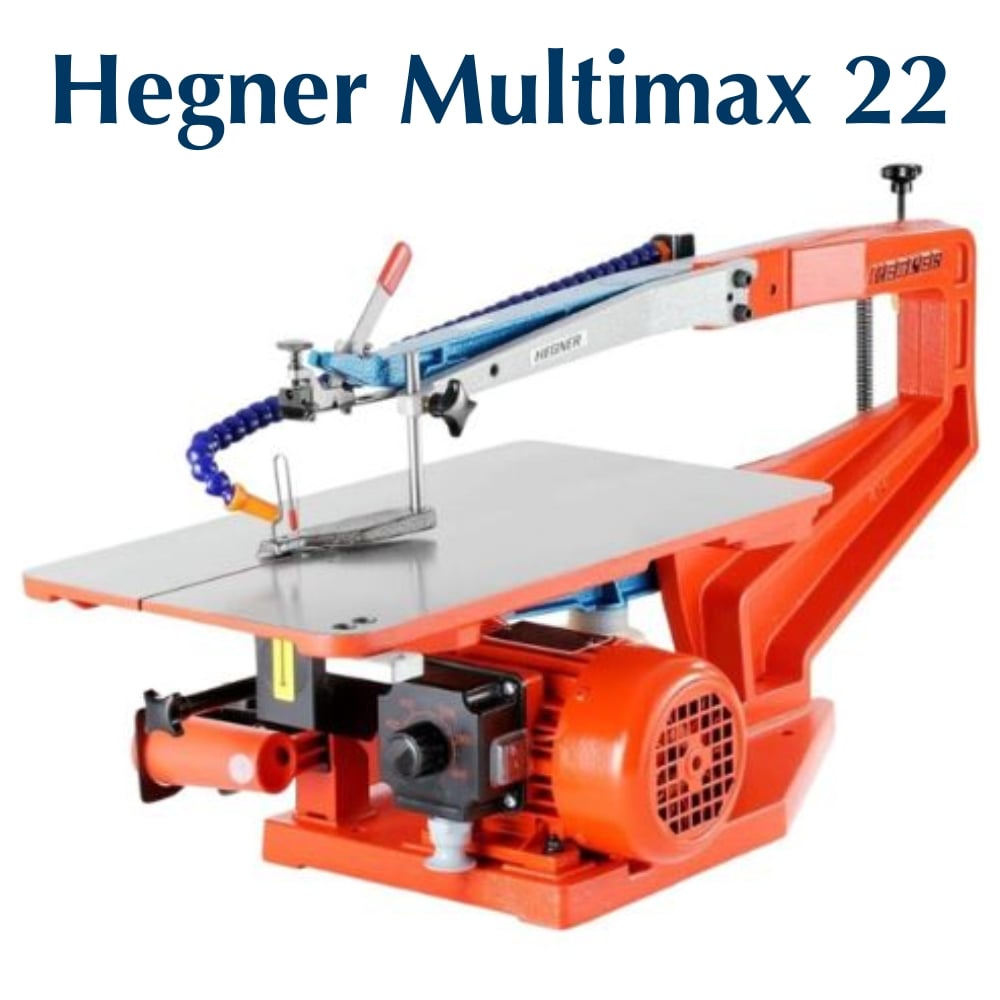
HEGNER SCROLL SAW PARTS
Need a replacement for a damaged part? Click the photo of your Hegner model below:

FAQs / How To's
Find solutions to common scroll saw concerns. Click on any questions below to expand detailed troubleshooting steps.
When your variable speed is starting to go, try minimally re-adjusting the potentiometer setting.
- Unplug the saw from the power source. Always unplug the motor again before re-opening the switchbox.
- Open the switchbox and gently blow out any dust that has accumulated inside the box.
- Check all wires are securely connected. Please contact us if you're unsure.
- If wires were loose and reconnected, close switch box and test motor if issue is resolved. If not, unplug and reopen.
- Locate the small 1/8" diameter, orange-colored, with cross-cut slots so you can insert a small standard or Phillips screwdriver, usually on the left side near vertical center of the electronic circuit board.
- Turn this screw slightly in either direction - less than one hour on a clock face, then test by closing the box and running the saw normally. If not working, try turning by the equivalent of another hour, but no more than 1/4 turn (or 3 hours) in either direction. Mark your starting points. Calibration requires some time to find its spot, so patiently let the saw run 1 hour before adjusting again.
- If unresolved, unplug, reopen, and repeat the potentiometer adjustment, but turn in the opposite direction.
- Close the switchbox and test. If the problem remains, you will require a new circuit board.
These are usually in stock at our parts warehouse and can be ordered online or by phone (M-F, 10-3 ET) at 1-800-727-6553. When ordering new circuit boards, always include your machine/serial number in the ‘Notes’ box at check-out to ensure the correct part. Note: If this fix is successful once, this procedure may not be repeated. If this saw's operation is critical for you, it is recommended to order a circuit board before it fails completely and leaves the machine temporarily inoperable. Click for PDF copy of instructions.
- Make sure you have broken enough blades to confirm that it is indeed an ongoing issue: sometimes one or two blades can break for random reasons and the problem disappears by itself.
- Check whether the problem is only with a certain type, size, batch or brand of blades. Very often, a blade problem is just that: a problem originating from and due to a manufacturing problem with the blades themselves. In that case, please contact your blade supplier.
- If the problem continues and occurs with multiple blade types, determine whether blades are breaking primarily in one particular area of the blade (near the top, in the middle, or at the bottom). This will be your most important clue. Breakage near the ends is typically an indication that there is a mechanical problem with the blade mounting or the machine in general, while breakage in the middle is usually due to a bad or poorly chosen blade, incorrect tensioning, or poor sawing technique.
- If breakage is near the ends or the clamps, it might be that the clamps are tightened too hard or constricted in free movement. If breakage at the ends is also accompanied by increased noise or vibration in the saw, this confirms that the saw requires attention. The most likely cause is wear of the tension rod resulting in inadvertent loss of tension, or wear of the main arm bushings resulting in compromised control of the blade motion.
- If you feel your technique can be improved, we recommend online or local instruction in general scroll saw use.
- If you have technical or mechanical questions that are not answerable using your manual or the manuals and parts diagrams listed on our website, please contact us by phone or e-mail - we are happy to help. Click for PDF copy of instructions.
The clamps do wear out over time and use. A lot of use will wear down the metal. It’s difficult to place a timeline on the average life span of clamps as there are many factors involved, like how often the user is running inside/fret cuts and threading the blade through work and reinstalling it to the clamp. This kind of scroll work with constant contact to the end of the blade can build up natural oils or dust from the hand, which then transfers that to the inside of the clamp. You can try to clean the blade ends and clamp with a good grease cutting agent and/or use an Emory cloth to roughen the surfaces for better grasp. Ultimately, you should consider getting a new or spare pair.
Consider watching our video on How to mount a blade into the clamp. Since it’s only a couple of minutes long, it’s worth reviewing.
Following the steps will help to center the blade at the point of the clamp where it’s best gripped. If the blade is off center from the point, then the grip is greatly diminished. To be clear, when loading the blade, you allow the end of the blade to touch the thread of the screw and then you back it down just a ‘hair’ away from the screw to ensure that it doesn’t move the blade off center when tightening the clamp. Ideally, the blade should have the grace of a slight undulation within the clamp point. Overtightening will cause either the blade or the screw to break. Click for PDF copy of instructions.
One of the most integral parts of the operation of a Hegner Scroll Saw is the Connector (also known as Cam, part #21 or #221), which connects the motor shaft to the lower arm and motivates the arms to saw. First, check that the hardware is snug, that there are no breaks or cracks in the black oval, and that the sealed bearings have no rust or pitting. If anything is compromised, even a hairline fracture will soon give way to breakage; you should replace the Connector as soon as possible. Your saw cannot cut without this part intact. Click for PDF copy of instructions.
Here are the parts and instructions links:
NOTE: If you received a complete switch assembly, start at Step 4 and attach wires to the new board as detailed below. On/Off switch wires are already connected.
- Remove black cap from the knob by prying off with a small screwdriver.
- Inside the knob, loosen brass slotted nut with quarter or similar item.
- Gently pull the knob off the circuit board stem (Important: if you break the stem or pull it out with the knob, the circuit board will be useless.)
- Remove the four (or two) screws holding the switch box (or switch box cover) and remove the switch box (or switch box cover.)
- Remove the nut holding the circuit board to the switch box (or switch box cover.)
- Remove the wires from the On/Off switch. You may have to remove the On/Off switch from the switch box in order to remove and replace the circuit board.
WIRING INSTRUCTIONS FOR ELECTRONIC CIRCUIT BOARD
1) Black wire from cord (power cord) 2) White wire from cord (power cord) 3) White wire from motor: a) Black wire from motor 4) Green wire from motor: a) Brown wire from capacitor 5) Small black wire (direct to Speed Sensor) 6) Small brown or white wire (direct to Speed Sensor.) Attach two black wires from Electronic board to the ON/OFF switch.
IMPORTANT NOTE: The current switch has four terminals: two spade and two screw. If you have this switch, you must cut the connector off one of the wires on the circuit board and strip the end of the wire for the screw terminal. The two wires must be connected to one of the spade terminals and the screw terminal directly above it. If you have an older switch with only two spade terminals, no modification is required. Click for PDF copy of instructions.
Here’s the Replacement Instructions:
Important Note: The new XM18-265SN switch has two tabs and two screws. Older Hegner models may have used switches with only tabs. Do not attempt to connect using only the two tabs or only the two screws - this will not work.
1. Identify the new switch: XM18-265SN, which includes:
- Two tabs
- Two screw terminals
2. Determine your existing wiring setup:
If your original switch had two clip-on connectors, you will need to modify one of the wires.
3. Connect the wires as follows:
Use one tab and one screw connection on the same side of the switch.
If both of your wires have clips, cut off one clip, strip the wire, and attach it to the corresponding screw terminal.
4. (Single-Speed Motors Only): Reconnect the wires exactly as they were on your old switch, matching position and orientation.
5. Secure all connections tightly and double-check for proper contact.
6. Once installed, test the switch operation before full reassembly. Click for PDF copy of instructions.
Here are the steps to align your Hegner Scroll Saw:
1. Remove the saw from the stand to access the Allen-head bolts under the base. These bolts anchor the mainframe (the orange casting that holds the blue arms) at the rear of the saw. Leave a blade installed and tensioned in the saw.
2. Slightly loosen both of these bolts (#28 - see parts diagram). These bolts are often extremely tight and also secured with a split lock washer, so significant force may be required. The correct tool is a 5mm Allen wrench (originally included in the saw’s toolkit).
Note: Ensure the wrench is fully seated in the bolt head to avoid injury or damage from slipping.
3. Once the bolts are loosened (do not remove them), the frame may spring back closer to its ideal position. You may loosen the bolts further as needed to allow this movement.
4. If necessary, gently rotate the frame into the correct position by hand.
If this is done, motor realignment may also be required. The following conditions must be met:
The blade should align roughly with the centerline of the long blade slot (as viewed from the front).
Connector #21 must hang perfectly vertical and rotate freely.
The motor must be properly positioned side-to-side (as viewed from the front) relative to the sawing frame and be perpendicular to the centerline of the arms.
If motor adjustment is needed, loosen the four motor hold-down bolts using a 4mm Allen wrench.
5. After aligning all components:
Fully tighten the C-Frame bolts.
If the motor bolts were loosened, first finger-tighten them.
Then, turn the saw on and off quickly two to three times. This allows the motor to "self-align."
Finally, tighten the motor bolts fully.
6. Briefly run the saw and observe the blade from the front:
Ensure the blade is running true and not rubbing against the table cutout.
Note: Perfect centering is not necessary; blade trueness is the primary concern. Click for PDF copy of instructions.
Hegner does not recommend any kind of wheels fastened to the bottom of the stand. Rather, the holes that are already included at the bottom of the legs are there to reduce mobility and bolt the stand to a wood floor. However, we have had some customers get creative, and I’m glad that they have shared their ingenuity with us so I can pass it along to nice people like you. We’d also suggest just putting these on 2 of the 3 legs so you can easily tilt the setup and push/roll it around to its destination.
Since wheels at the bottom would not only add a substantial height to the saw, much also structural compromise, even if the wheels lock, it has been agreed by our consultants that if wheels were necessary, they would be attached to the sides of the legs with retractable wheels. We do not offer these wheels as they are not endorsed by Hegner, but you can look on the web for ‘Retractable Workbench Casters’. Click for PDF copy of instructions.
If you have any troubleshooting questions, or if you need saw blades, parts, or any other assistance, please call Advanced Machinery at 800.727.6553 (10-3 Eastern Time, M-F), email us at support@advmachinery.com. You may also refer to this Hegner Troubleshooting Guide for more info.
Helpful Videos
Manuals
Current Hegner Models
Discontinued Hegner Models (A-L)
Get in Touch
Have a question or need assistance? We're here to help! Reach out to our Customer Support team and we'll get back to you as soon as possible.
Email us directly at: support@advmachinery.com
Response Time
We typically respond within 24 hours
Support Hours
Mon - Fri, 10AM - 3PM EST
Send us a Message
Fill out the form below and we'll get back to you promptly.